.avif)
A Founder’s Guide to Prototyping a Product the Right Way
As a first-time founder, bringing a product idea to life can feel overwhelming. You’ve got the idea, maybe even a few sketches, but no clear path to turning it into something real. So, the natural instinct is to jump straight into getting a prototype made.
That’s where many people go wrong.
Creating a prototype isn’t a single step, it’s part of a structured product development process. One that turns your idea into a feasible, commercially viable product. Skip steps, or build the wrong type of prototype too early, and you’ll quickly burn through time and budget.
This guide will walk you through how to approach prototyping properly, so you can move forward with clarity, make better decisions, and avoid costly mistakes.
What Prototyping Actually Means
A prototype shouldn’t be the end goal. It’s a tool used throughout product development.
At different stages, you’ll use different types of prototypes to answer specific questions, test assumptions, and reduce risk.
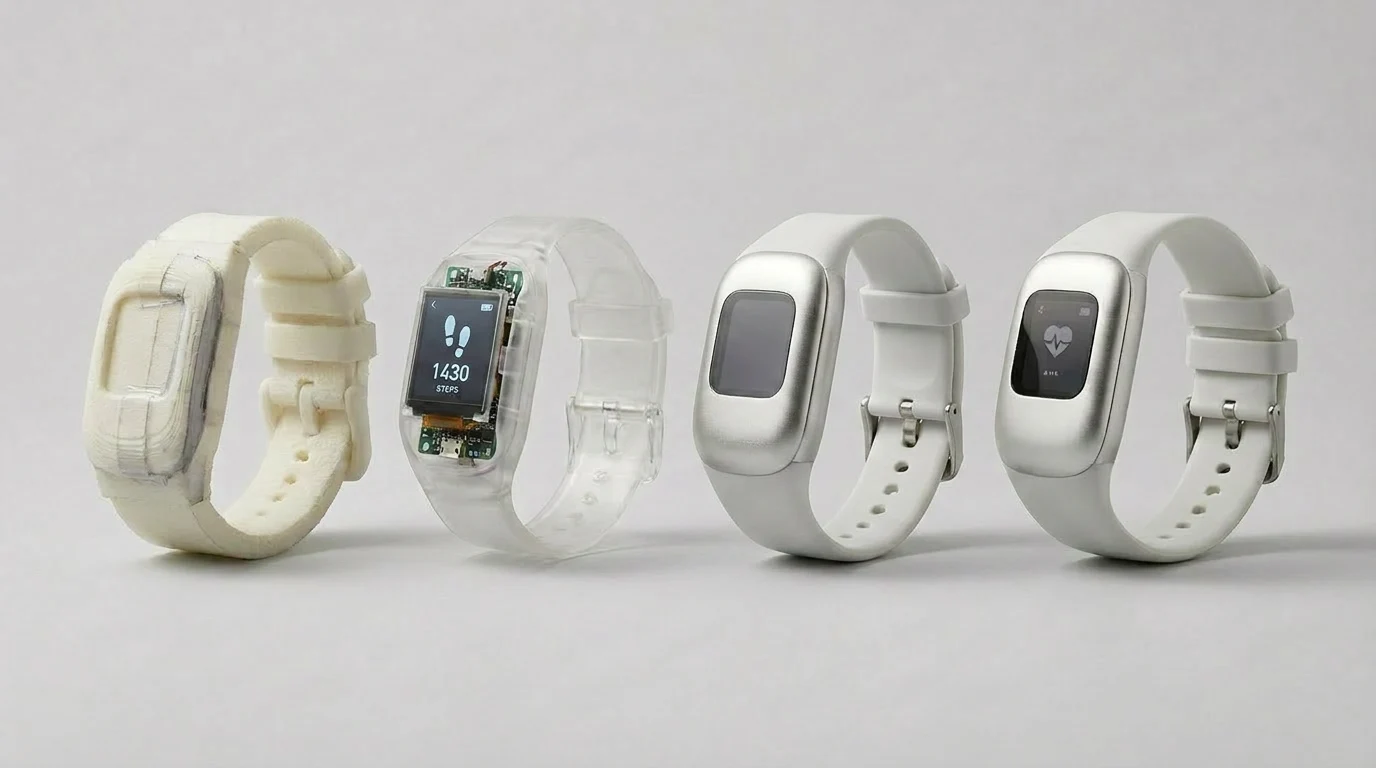
- Low-fidelity prototypes (foam models, cardboard mock-ups) → used early to quickly explore ideas, proportions, and form
- Proof of concept prototypes → used to validate whether a mechanism or piece of technology actually works
- Presentation prototypes → aesthetic models that represent how the final product will look
- Works-like / looks-like prototypes → functioning models that behave like the real product while also resembling it closely
There are many variations in between, but the principle stays the same: each prototype exists to learn something.
Used properly, prototyping is about iterating, testing, and improving your product as you move toward a viable, manufacturable solution.
So, what does “getting a prototype made” actually mean?
It means embarking on a product development process aimed at creating a commercially viable product. And as part of that journey, you’ll produce different types of prototypes at different stages, each one designed to answer specific questions, validate decisions, and move you closer to something that can succeed in the real world.
The 6-Step Process to Getting a Prototype Made
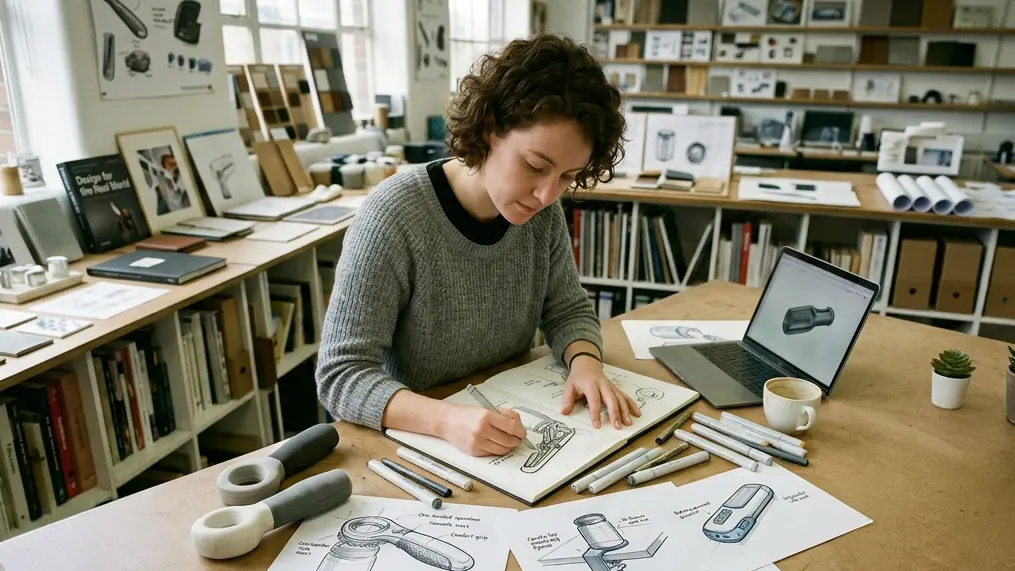
Step 1: Turn Your Idea Into a Design
Before anything can be built, your idea needs to be properly understood, not just visualised.
This is where many founders rush, but it’s one of the most important parts of the entire process.
At this stage, you’re not just creating a design, you’re defining the problem, refining the brief, and making sure the product you’re developing is actually worth building.
This typically involves:
- Clarifying the problem your product solves
- Defining user needs and use cases
- Validating the market
- Exploring multiple solutions, not just one idea
- Creating sketches and early 3D CAD models
- Thinking through materials, mechanisms, and engineering constraints
The goal is to optimise the brief and specification so that your solution is as strong as it can be before you invest in building anything.
Most ideas aren’t immediately buildable or viable. This step turns a rough concept into something grounded, testable, and commercially relevant.
This is also where working with a product design consultancy can make a significant difference. Rather than jumping straight into building, a good partner will challenge assumptions, explore alternatives, and help shape the right solution, not just the first one.
Done properly, this stage sets the foundation for everything that follows and dramatically reduces the risk of wasting time and money later.
Step 2: Define What Questions Your Prototype Needs to Answer
This is where most people go wrong and where you can save the most time and money.
Instead of prototyping for the sake of it, define the questions you needs answered and the assumption you need to validate. This way you can make a better decision about the type of prototype to use and prevents you wasting money on something you don’t actually need.
Think in terms of assumptions you need to validate. For example:
- Function: Will this mechanism actually work as intended?
- Usability: Can a user understand and use this intuitively?
- Ergonomics: Does it feel right in the hand? Is it comfortable over time?
- Aesthetics: Do the proportions look good in real life?
- Feasibility: Can this realistically be engineered and manufactured?
In practice, each round of prototyping should be tied to a small set of clear questions. Once those questions are answered, you move forward or adjust your approach.
The clearer your questions, the more efficient and effective your prototyping process becomes.

Step 3: Decide What Type of Prototype You Need
Once you know what you’re testing, you can choose the right type of prototype.
For example:
- Early idea exploration → low-fidelity models (quick, cheap, disposable)
- Technical validation → proof of concept (focused purely on function)
- Visual refinement → presentation prototype (how it looks and feels)
- Raising investment → works-like / looks-like prototype (demonstrates the final product to potential investors)
Each type of prototype serves a different purpose and trying to combine them too early usually leads to unnecessary complexity and cost.
A common mistake is aiming straight for a “final-looking” prototype. In reality, that only makes sense once you’ve already proven that the product works and meets user needs.

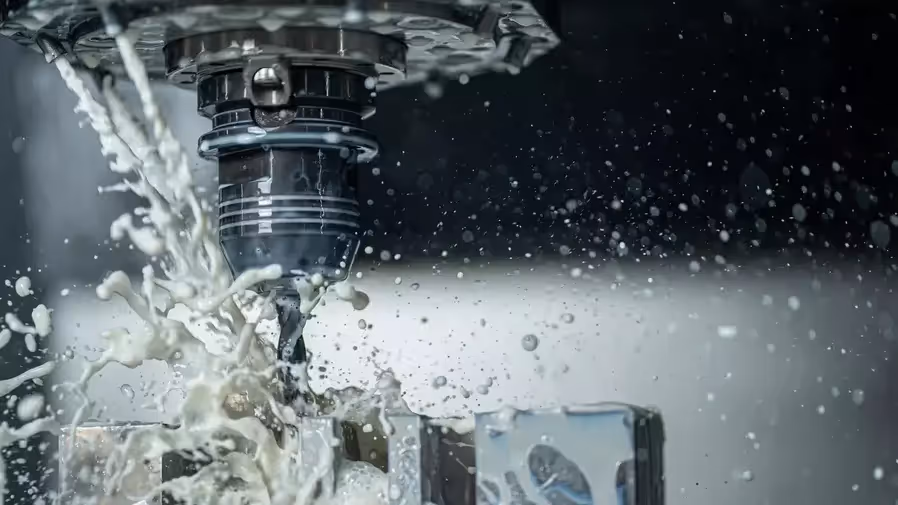
Step 4: Choose the Right Production Methods
Now you decide how the prototype will actually be made.
Common methods include:
- 3D printing → fast and cost-effective for early stages
- CNC machining → higher precision parts
- Vacuum casting → mimics final production parts
- Soft goods prototyping → textiles, wearables
- Electronics prototyping → functional systems and circuitry
Each method has trade-offs in cost, speed, and accuracy. The right choice depends on what you’re trying to learn.

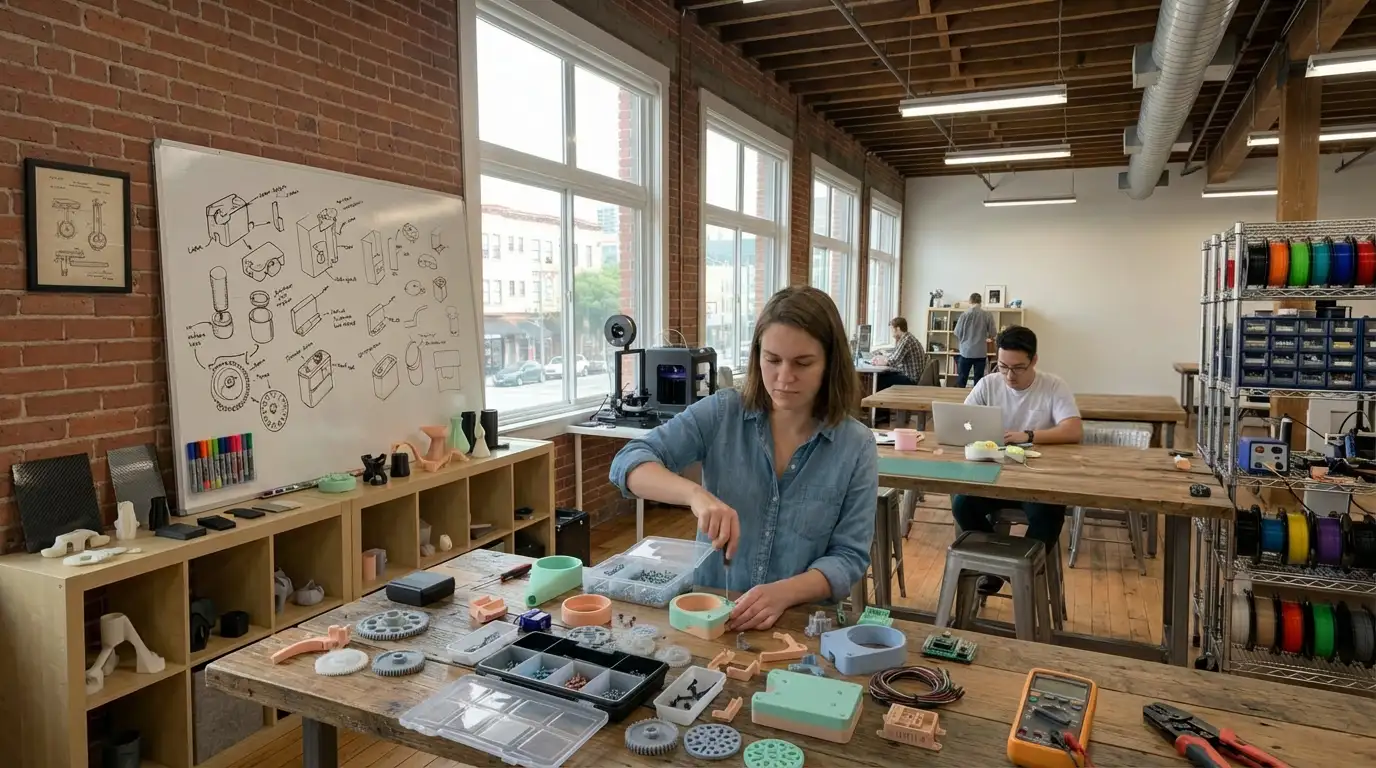
Step 5: Build, Test, Iterate
This is where the real progress happens and where expectations need to be reset.
The first version of your product is never 100% right. There will always be things that need to change once you see it, use it, and test it in the real world.
You build the prototype, test it against your original questions, and identify what works and what doesn’t. Then you refine and repeat.
This is exactly why you don’t jump straight into expensive, high-fidelity prototyping methods. Early iterations should be fast, simple, and cost-effective because change is inevitable.
As your confidence in the design grows and the major risks are reduced, you gradually increase the level of fidelity. Only once the design is stable and unlikely to change significantly does it make sense to invest in a works-like / looks-like prototype.
How Much Does It Cost to Get a Prototype Made?
The cost of prototyping varies entirely based on the product and the type of prototype you make. Prototyping can get expensive but there are ways to manage it. The biggest mistake founders make is thinking prototyping is just about building physical things. In reality, a large amount of development and cost saving can happen before anything is made.
A smart approach starts with virtual prototyping:
- 3D CAD modelling to develop and refine the design
- Digital iterations to explore multiple concepts quickly
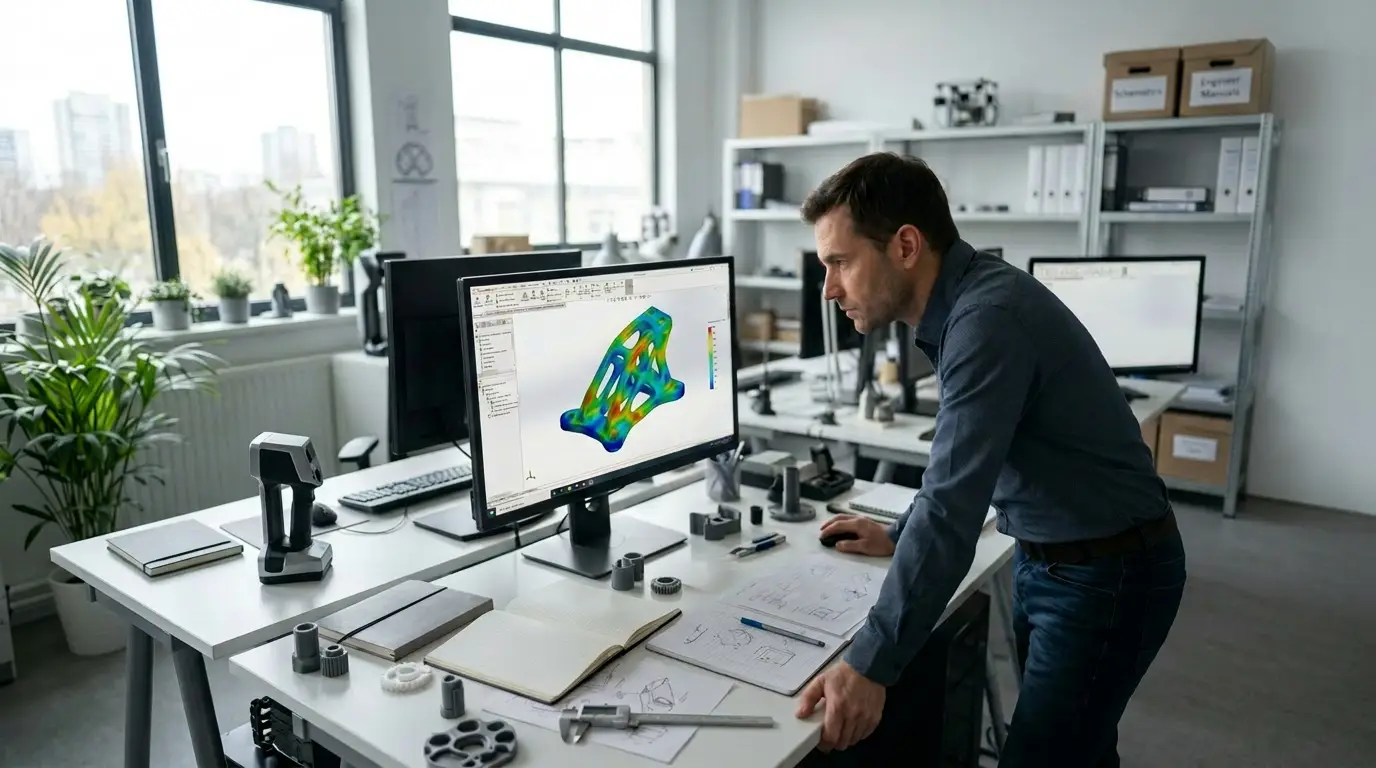
- FEA (Finite Element Analysis) simulations to test strength and performance virtually
These tools allow you to answer a significant number of questions early without the time and cost of physical builds.
From there, you move into low-cost physical prototyping:
- Simple models
- Desktop 3D prints
- Basic mock-ups
These are used to validate form, usability, and basic function quickly and affordably.
As confidence in the design increases, you gradually invest in more advanced prototypes using methods like CNC machining, higher-quality prints, or functional assemblies.
Only at the later stages once key risks are reduced and the design is relatively stable does it make sense to invest in high-fidelity or pre-production prototypes.
For complex products, especially those involving precision engineering or electronics, these can run into the thousands.
How Long Does It Take?
Timelines depend on the product and level of development.
- Simple prototypes: a few weeks
- More complex products: several months
Common delays come from:
- Unclear briefs
- Frequent design changes
- Supplier or manufacturing constraints
Clarity upfront speeds everything up.
Common Mistakes That Waste Time and Money
- Treating a porotype as a single goal rather than a range of tools to be used throughout development.
- Jumping straight into building without proper design
- Choosing the wrong type of prototype
- Optimising for cost instead of learning
- Working with partners who only build, but don’t think strategically
- Expecting one prototype to solve everything
Avoiding these mistakes is often the difference between progress and stagnation.
Who Should You Work With?
There are a few routes you can take but they’re not equal depending on your goal.
- Freelancers → Useful for specific tasks or simple products. Flexible and cost-effective, but typically limited in scope and continuity.
- Prototype shops → Good at making parts. If you know exactly what you need built, they can execute but they won’t guide the development process or challenge the design.
- Product design consultancies (like FLYNN) → End-to-end partners who take your idea from concept through to manufacturing.
If your objective is just to “get something made,” the first two options can work.
But if your goal is to develop a commercially succesful product, a product design consultancy is the strongest route.
Why?
Because prototyping doesn’t sit in isolation, it’s part of a wider development process. A good consultancy will:
- Define and refine your brief
- Challenge assumptions and improve the concept
- Plan the right prototyping strategy at each stage
- Manage trade-offs between cost, speed, and quality
- Ensure what you’re building is aligned with manufacturing from the start
In other words, they don’t just help you build prototypes they help you use prototyping properly to develop a better product.
That often results in spending less overall, because you avoid false starts, unnecessary iterations, and costly mistakes.
If you’re serious about bringing a product to market, working with a consultancy isn’t just about design, it’s about making sure your time, budget, and effort are used in the most effective way possible.

When Are You Ready to Build a Prototype?
You don’t need everything figured out.
But you do need:
- A clear idea
- A real problem worth solving
- Some level of early validation
Prototyping is about progressing with confidence, not waiting for perfection.
So, How Do You Prototype Without Wasting Time or Money?
The most effective teams don’t treat prototyping as a one-off task. They treat it as a structured process for reducing uncertainty, making better decisions, and building confidence in the product over time.
That means:
- Investing time upfront to define the right problem and develop a strong design
- Being clear on what needs to be tested and why
- Using the simplest, most appropriate tools to answer those questions
- Iterating deliberately, only increasing investment as risk is reduced
When you approach it this way, prototyping becomes a strategic advantage rather than a cost.
That’s how you prototype without wasting time or money: by focusing less on the build itself, and more on the decisions that lead you there.
Ready to Move your idea Forward?
If you’re serious about turning your idea into a commercially viable product, the fastest way to make progress is to get clarity early.
At FLYNN, we help founders take ideas from concept through to manufacturing using the right prototyping strategy at every stage to reduce risk, control cost, and move with confidence.
If you’d like a clear next step for your product, get in touch. We’ll help you understand where you are, what you need to test, and how to move forward without wasting time or money.
We provide businesses with product design consultancy, industrial design, prototype design & related services.